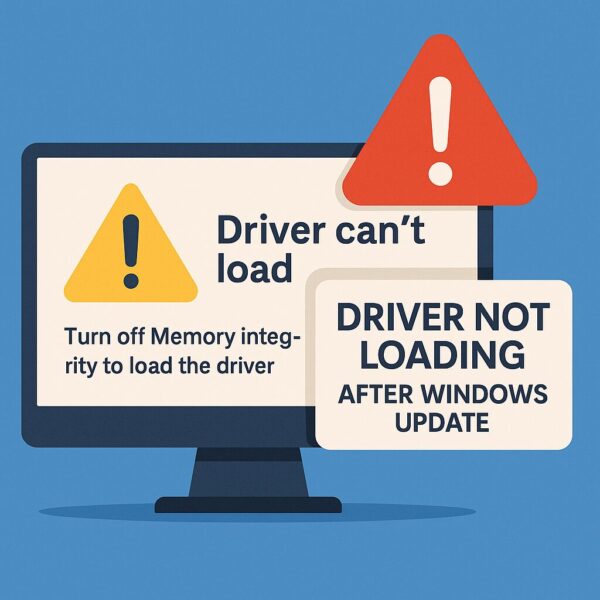
Have you just updated Windows, only to find that some drivers no longer work—your fingerprint sensor, wireless mouse, or USB device suddenly goes silent?
You’re not alone.
In recent Windows 10 and 11 updates, a hidden security setting called Memory Integrity (also known as Core Isolation) is silently blocking drivers it deems “unsafe.” But the real problem is: some older, yet functional, drivers don’t meet the new strict standards—even if they’re still needed for your devices.
This article will explain why this happens, and walk you through several safe, step-by-step solutions, including diagnostic tips and even some hidden tools Microsoft doesn’t advertise.
- 1 What Is “Memory Integrity” and Why Does It Matter?
- 2 Common Symptoms of Drivers Blocked by Memory Integrity
- 3 Hidden Problem: Memory Integrity Turns Itself Back On
- 4 Final Thoughts
What Is “Memory Integrity” and Why Does It Matter?
Memory Integrity is part of Windows’ built-in security (under Core Isolation) that protects your system from attacks by ensuring drivers are digitally signed and verified.
If a driver lacks a proper signature or uses outdated security protocols, Windows will block it from loading—without always telling you why.
In simple terms:
If a driver doesn’t meet Microsoft’s new security rules, Windows won’t let it run—even if it used to work perfectly before the update.
This feature helps keep malicious code away from core system memory, but it also causes trouble for many legitimate drivers, especially for older peripherals.
Common Symptoms of Drivers Blocked by Memory Integrity
If your driver has been silently blocked by Memory Integrity, you might notice:
- Your fingerprint or facial recognition suddenly stops working
- External devices (like printers, webcams, wireless dongles) no longer respond
- In Device Manager, the device has a yellow triangle or error
- Error messages like:
“This driver has been blocked from loading”
“This device cannot start (Code 48)”
Tip: These issues often appear after Windows updates—especially major ones like 24H2 or feature upgrades.
Step 1: Temporarily Turn Off Memory Integrity
The easiest way to test if Memory Integrity is the culprit is to disable it temporarily.
How to disable it:
- Go to Settings > Privacy & Security > Windows Security
- Click Device Security
- Click Core Isolation Details
- Toggle off Memory Integrity
- Reboot your PC
This reduces security slightly, so it’s only recommended for testing purposes or when you have no alternatives. Try to re-enable it once a signed driver is installed.
Step 2: Update Drivers to Digitally Signed Versions
Many drivers fail due to being outdated. Installing the latest version—especially directly from the manufacturer—often solves the issue.
How to do it:
- Open Device Manager
- Right-click the problematic device → Update driver
- Choose Search automatically
or go to the manufacturer’s website (Lenovo, HP, Logitech, etc.)
Tip: Avoid using Windows Update to install device drivers. It may install generic or incompatible versions.
Step 3: Identify Problematic Drivers Using Hidden Tools
Here’s a trick not many users know: Windows includes diagnostic tools to find unsigned drivers.
Option A: Use “System Information”
- Press Win + R, type msinfo32, and hit Enter
- Go to Software Environment > Unsigned Drivers
- Any driver listed here is likely blocked by Memory Integrity
If your fingerprint driver or Bluetooth driver shows up here, you’ve found the culprit.
Option B: Use “Driver Verifier” (Advanced Users Only)
This built-in tool can test drivers for behavior issues, but be careful—it may cause system instability.
How to run it:
- Open Command Prompt as Administrator
- Type verifier and press Enter
- Choose Create custom settings and select problematic drivers
- Reboot to test
⚠️ Warning: Use with caution. Create a restore point beforehand.
Step 4: Prevent Windows from Reinstalling Problem Drivers
Even after fixing the issue, Windows may try to reinstall the bad driver in the next update. Here’s how to stop that:
Use Microsoft’s “Show or Hide Updates” Tool:
This tool doesn’t uninstall anything — it simply tells Windows Update not to reinstall a specific update.
- Download from Microsoft: wushowhide.diagcab
- Run the tool and hide the update that keeps breaking your driver
This is especially useful for GPU drivers or older USB peripherals.
Bonus Fix: Use Compatibility Mode for Legacy Drivers
If you’re using a very old device (like a 2010 printer or webcam), you may be able to force-install the driver in compatibility mode.
How to do it:
- Right-click the driver’s setup file → Properties
- Go to the Compatibility tab
- Check “Run this program in compatibility mode for” → Select Windows 7 or 8
- Apply and run the installer
This doesn’t remove all security checks, but it can help older installers run correctly on newer versions of Windows.
Keep in mind that features like Memory Integrity may still block truly unsigned or unsafe drivers.
Hidden Problem: Memory Integrity Turns Itself Back On
Even if you turn off Memory Integrity, Windows may turn it back on automatically after an update or reboot—especially in business PCs or Microsoft accounts connected to cloud settings.
What you can do:
- Recheck settings after major updates
- Replace blocked drivers with signed ones as a permanent fix
- Keep your manufacturer’s drivers up to date manually (don’t rely on Windows Update)
💡 In corporate environments, group policies may also re-enable this feature silently.
Final Thoughts
If your device suddenly stops working after a Windows update, don’t panic—it’s not always a hardware failure.
More often than not, it’s a well-meaning security feature like Memory Integrity doing its job… perhaps too aggressively.
By following the steps above, you can identify the issue, work around it safely, and restore functionality to your devices—without compromising your entire system.
And remember:
Always create a restore point before major changes, and keep your drivers backed up if you’re using older hardware.
✔️You might also find these helpful:
▶︎Is Your Laptop Overheating? Summer Heat Can Be More Dangerous Than You Think!
▶︎100+ Essential Windows Shortcut Keys
💡 Looking for more tips? Check out our full list of Windows Help Guides.


