If you’ve ever searched how to fix a stubborn Windows issue or reinstall the OS, you’ve probably seen the term “installation media.”
What is it exactly? Do you have to buy one? And how do you make it yourself—safely and correctly in 2025?
This guide explains what Windows installation media is, when you need it, and how to create a bootable USB with Microsoft’s free tools—step by step and jargon-free. Everything here applies to modern Windows 11 and Windows 10 devices.
What Is Windows Installation Media?
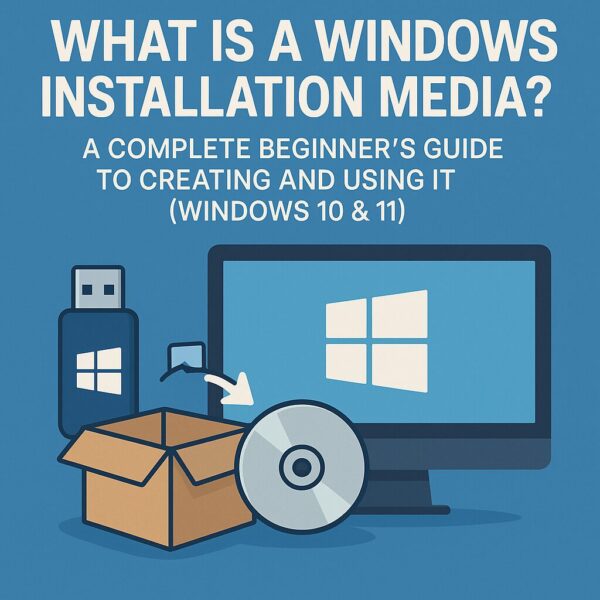
“Installation media” is a USB flash drive (or DVD) that contains the Windows setup files. You can use it to: reinstall Windows from scratch, repair a broken installation, install Windows on a new SSD/PC, or access recovery tools when a system won’t boot.
When You’ll Want Installation Media
- Your PC won’t start (black screen, boot error).
- You want a clean install to wipe everything and start fresh.
- Replacing a drive or building a new PC that needs Windows.
- You need recovery tools like Startup Repair or System Restore.
- Windows Update keeps failing and you prefer an in-place upgrade from local media.
What You’ll Need
| What You Need | Details |
|---|---|
| USB Flash Drive | At least 8 GB (16 GB recommended). The drive will be erased. |
| Internet Connection | Required to download setup files. |
| Windows PC | You run the Media Creation Tool on Windows to build the USB. |
Note: If you’re preparing media for Windows 10, keep in mind that Windows 10 reaches end of support on October 14, 2025. Security updates continue only via the Extended Security Updates (ESU) program thereafter.
Download the Official Tool
On Microsoft’s download page, choose Create Windows installation media to get the tool, then follow the prompts.
Create a Windows Installation USB (Step-by-Step)
Here’s the current, official flow using the Media Creation Tool:
- Plug in a blank USB (8 GB+).
- Run
MediaCreationTool.exeas an administrator, accept the license. - Select “Create installation media (USB flash drive) for another PC” → Next.
- Choose language, edition (Windows 11 or 10 Home/Pro), and architecture (64-bit is standard for Windows 11).
- Select USB flash drive → pick your USB → Next. The tool downloads Windows and makes the USB bootable.
Tip: If you prefer to repair the current system without wiping it, you can also mount the ISO in Windows and run setup.exe to perform an in-place upgrade/repair while keeping files and apps.
How to Boot From the USB
- Insert the USB into the target PC.
- Power on and press the boot-menu key (often
F12,F2,Del, orEscdepending on the brand). - Select the USB device to start Windows Setup.
- From Setup you can install Windows or open Advanced options for recovery/repair (Startup Repair, System Restore, Command Prompt, Uninstall updates, etc.). {index=9}
Common Issues & Up-to-Date Notes (2025)
- Windows 11 requirements: Windows 11 needs a compatible 64-bit CPU, 4 GB RAM+, UEFI firmware with Secure Boot, and TPM 2.0. Also, Windows 11 Home and Windows 11 Pro for personal use require an internet connection and Microsoft account during initial setup.
- FAT32 vs NTFS on the USB: Many UEFI systems boot easiest from FAT32. The Media Creation Tool typically handles this by using a compressed
install.esdthat fits FAT32’s 4 GB file limit. If you manually build a USB from an ISO and run into a “file too large” problem, split the image or follow Microsoft’s manual USB creation guidance. - ARM64 devices (Windows on Arm): For PCs like Snapdragon-based laptops, use Microsoft’s Windows 11 Arm64 ISO rather than x64 media. Some devices may require OEM drivers for bootable media.
- Activation after reinstall: If the PC was already activated, Windows 11/10 usually re-activates automatically after reinstall. You can skip the product key during setup; linking your digital license to your Microsoft account helps if hardware changed.
- BitLocker & recovery keys: Before a clean install or major repair, make sure you have your BitLocker recovery key if the drive is encrypted.
- Using a Mac: Microsoft’s Media Creation Tool is Windows-only. On macOS you can download the ISO, but creating a PC-bootable USB is simpler and most reliable from a Windows machine.
- Windows 10 status: Windows 10 reaches end of support on Oct 14, 2025. After that, only ESU-enrolled devices receive security updates. Plan to move to Windows 11 where possible.
Should You Refresh the USB Periodically?
Yes. Your USB reflects Windows at the time you created it. Re-create the media every 6–12 months or after major releases so you have the latest setup bits and fixes. The Microsoft download page always hosts the current release.
FAQ (Quick Answers)
Q. Can I use the same USB on multiple PCs?
→ Yes, the media itself is reusable. Just make sure each PC has a valid license/edition (Home vs Pro) for activation.
Q. Do I need a product key to reinstall?
→ Not if the device has a digital license already. Skip the key; Windows will activate automatically once online.
Q. Can I repair Windows without wiping apps?
→ Yes. Boot into Windows, mount the ISO or open the USB and run setup.exe; choose Keep personal files and apps for an in-place repair upgrade.
Q. My PC won’t boot from the USB.
→ Try the one-time boot menu, ensure UEFI is enabled, and recreate the USB with the Media Creation Tool so it uses a FAT32-friendly layout. If building manually, split the image when files exceed 4 GB.
Conclusion
Creating Windows installation media is free, fast, and essential for troubleshooting and clean installs. With one USB stick, you can recover an unbootable PC, perform an in-place repair, or set up a new drive—on your own terms.
Don’t wait for a crisis. Make your recovery USB today—it takes about 30 minutes and can save your entire system later.
✔️You might also find these helpful:
▶︎Windows 11 24H2 Update: Complete Troubleshooting
▶︎How to Take Screenshots and Record Your Screen on Windows
▶︎Why Is the Start Menu or Taskbar Not Responding in Windows 11/10?
💡 Looking for more tips? Check out our full list of Windows Help Guides.


